Ready Player Me Animation Library

Requirements
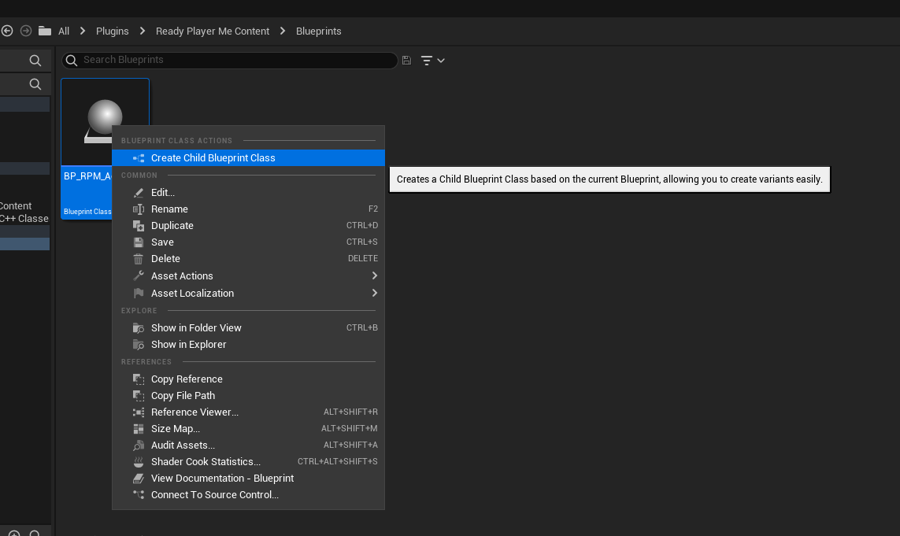
Project setup process


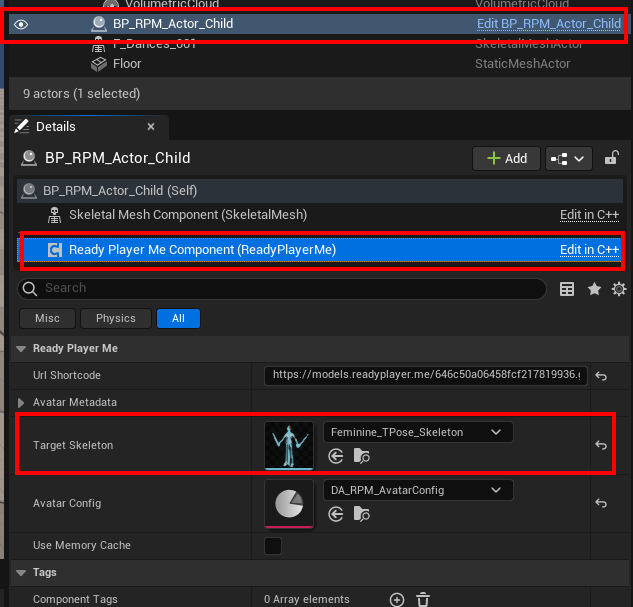
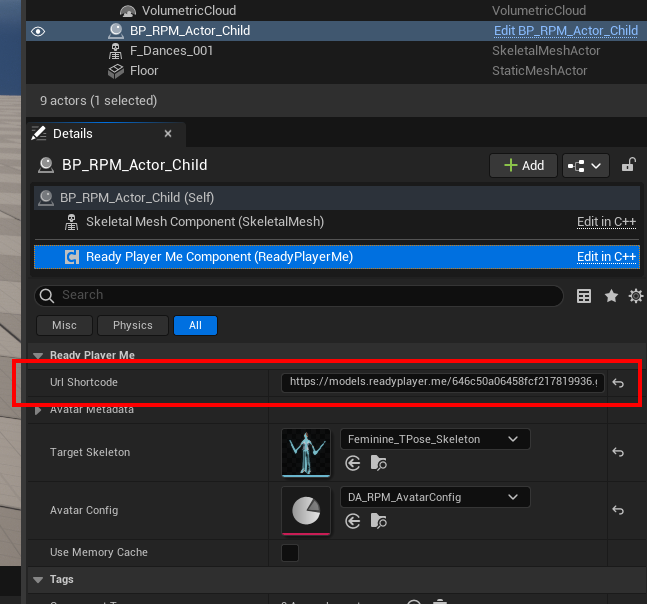
Loading avatars with new animations
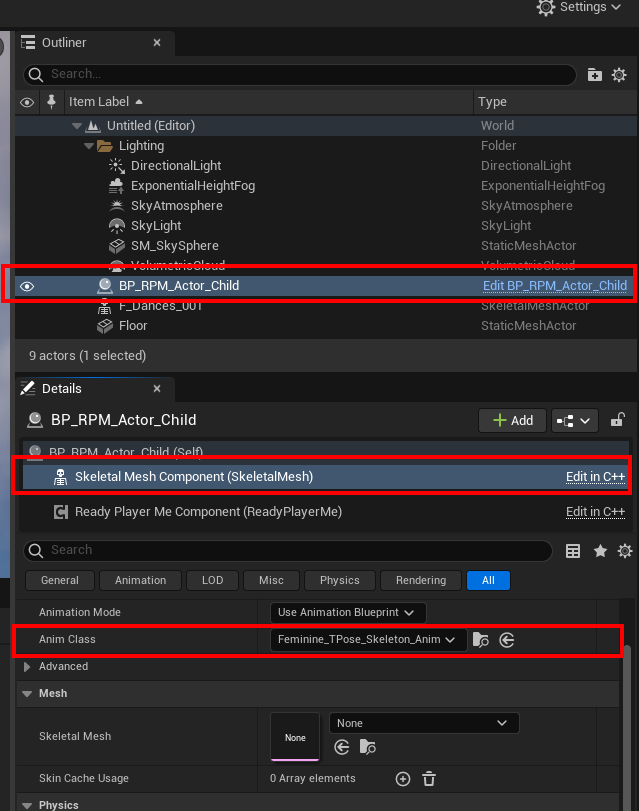
Set the Anim Class property to the Animation Blueprint you just created
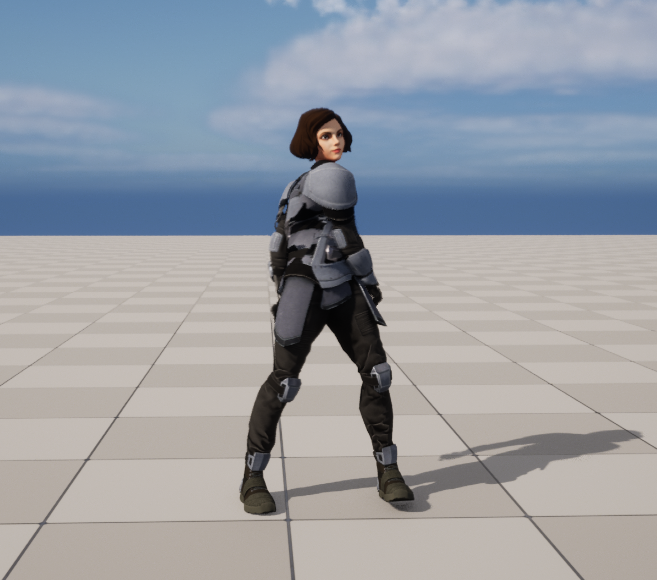
Run the application and you should see an avatar load with the animation playing


Last updated
Was this helpful?